
The Raspberry Pi can be converted into a retro gaming console in no time at all. With the Recalbox software, classic video game systems such as Amiga, Mega Drive, Super Nintendo, Nintendo64 and PC Engine can be emulated on the TV and old hits such as Mario Kart, Zelda & Sonic can be played. The installation is amazingly simple – I’ll show you step by step how to do it.
Difficulty level:
- Component list: What is needed?
- Step 1: Install Raspberry Pi in the case
- Step 2: Prepare SD card
- Step 3: Automatic Installation
- Step 4: Network Connection
- Step 5: Install Games/Roms
What is needed?
[Last updated: 03/05/2018]
- Raspberry Pi 3, Modell B (ca. 35 $)
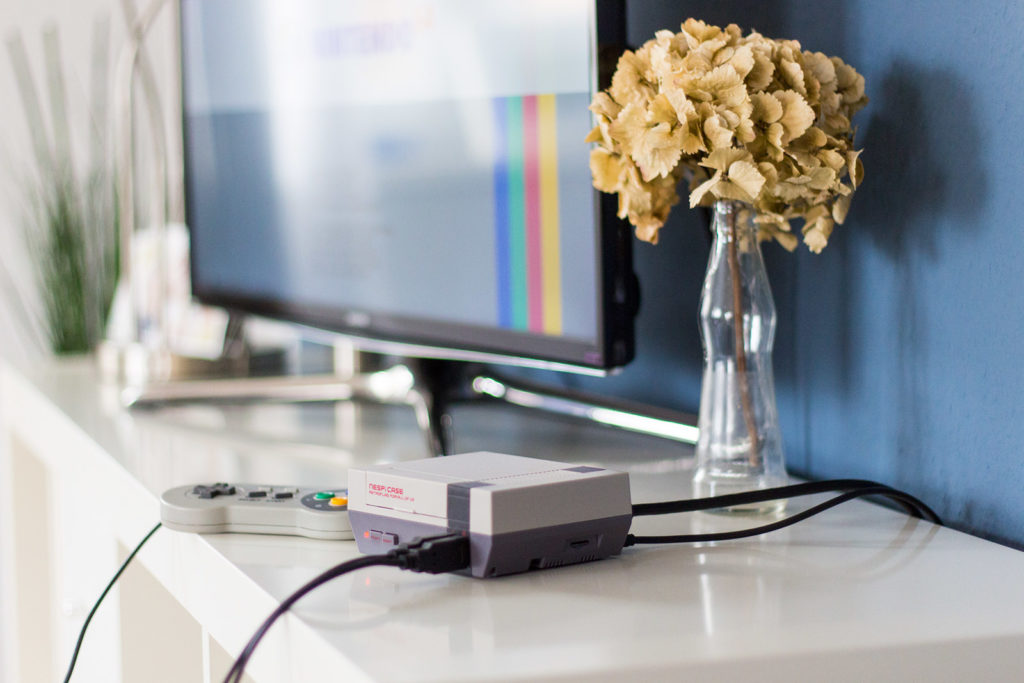
- NesPi retro case (ca. 23 $, optional)
- NES Gamepad / SNES Gamepad (ca. 16 $)
- SanDisk Ultra MicroSD, min. 16GB (ca. 10 $)
- Official Raspberry Pi power supply 5V / 2500mA (ca. 17 $)
Step 1: Install Raspberry Pi in the case
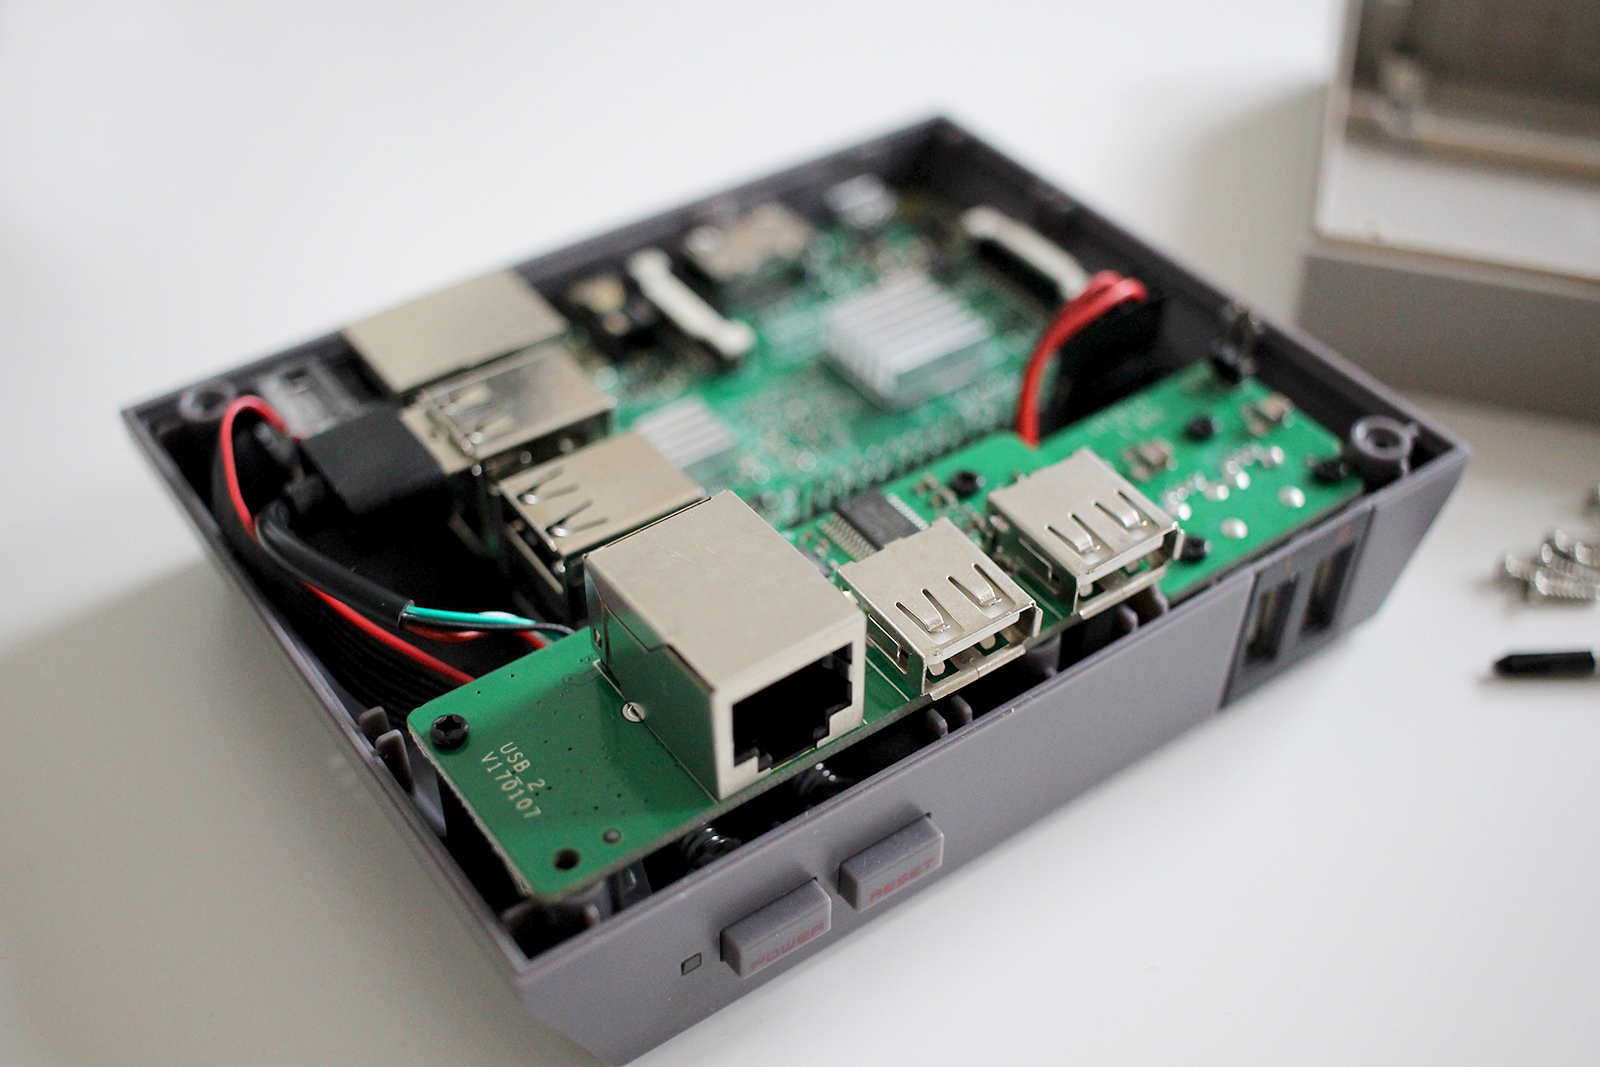
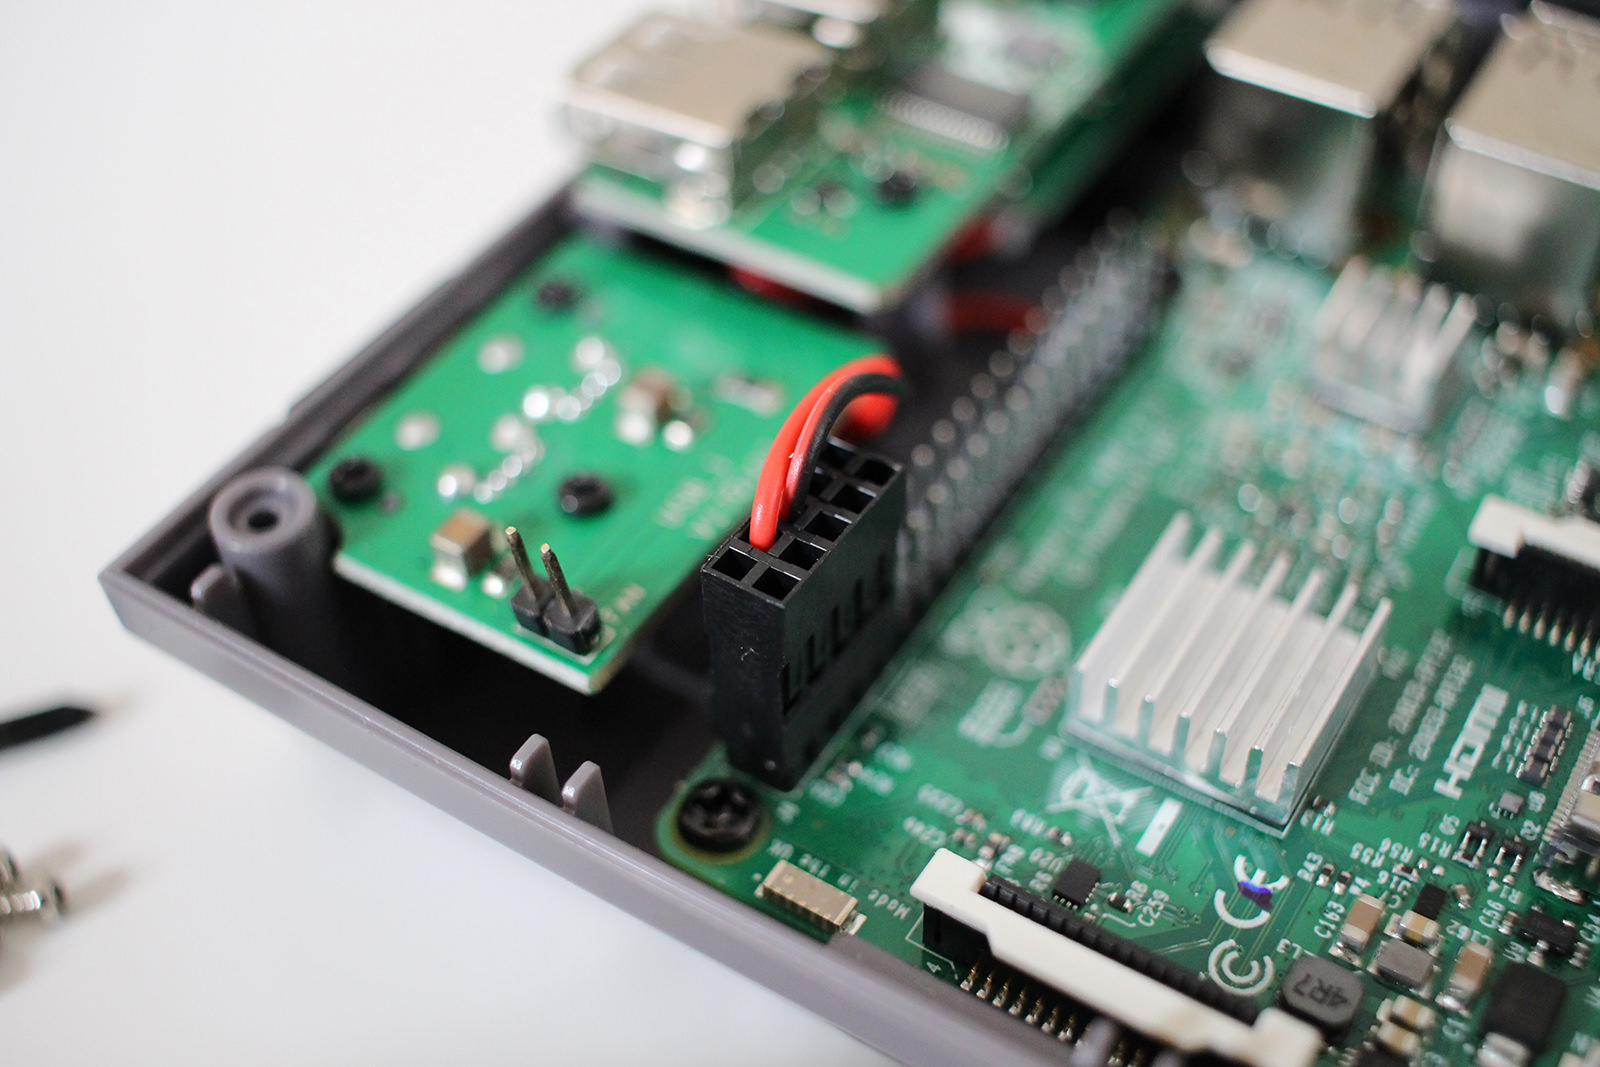
The NesPi Retro case not only looks stylish, but also includes all the components required for assembly (including a screwdriver). Installation is simple and can be completed in just a few minutes. For this purpose, the board of the Raspberry Pi is fastened in the case with two screws and the USB and network cables are connected to the Raspberry Pi. Finally, the Power & Reset switch of the case must still be plugged into the GPIO pin strip. The NesPi case comes with a Installation guide so that nothing can go wrong.
Step 2: Prepare SD card
A minimum 16 GB MicroSD card is required. The makers of Recalbox especially recommend the «Sandisk Ultra» series.
- SD card format
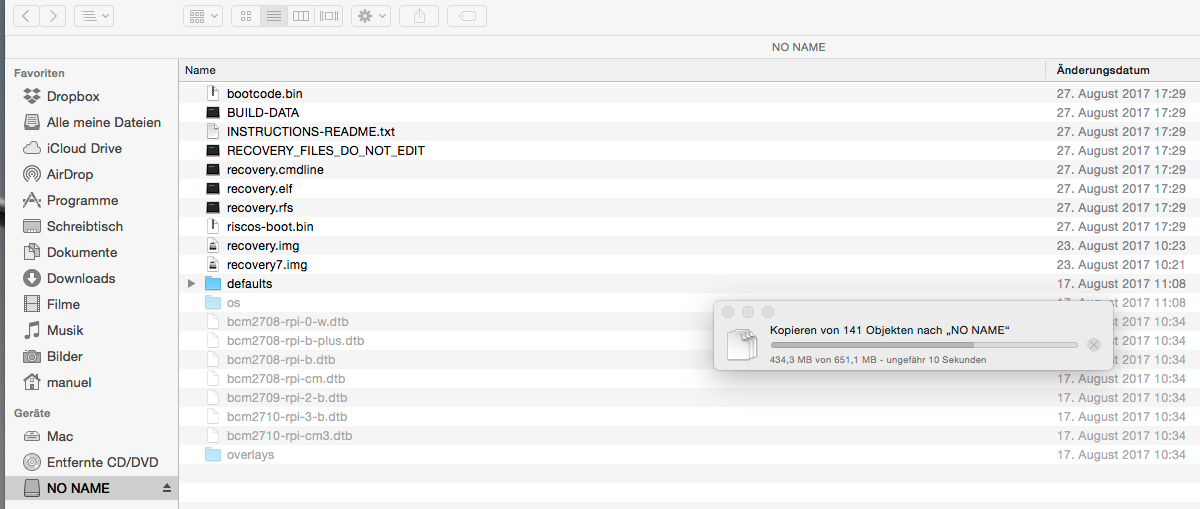
To use the SD card for Recalbox, it must be formatted with FAT32. For this we use the SD-Formatter (Windows / MacOS). Just download and install the small program. Then select the SD card to be formatted and activate the option “Format size adjustment”. Now the card can be formatted. - Download Recalbox
Here you can find the latest recalboxOS version (Recalbox 6.0-DragonBlaze):
https://archive.recalbox.com/ - ZIP-file unpack
Unpack the downloaded ZIP-file and simply copy the whole content 1:1 to the previously formatted MicroSD-card. Ready!
Step 3: Automatic Installation
Now we can plug the prepared MicroSD card into the Raspberry Pi and connect the TV via HMDI. Once plugged in, we can start the Raspberry Pi by connecting the USB power supply and pressing the power switch on the front of the case.
The Recalbox OS is now automatically unpacked and installed. This does not take longer than 5 minutes and no further steps are necessary. After installation is complete, the Raspberry Pi will automatically restart and the EmulationStation Frontend will appear.

Step 4: Network Connection
After installing Recallbox, we want to install games (ROMs) as well. However, the basic requirement for this is a network connection. We have the usual two possibilities to produce them:
- Per network cable
This is the simplest but not the most visually pleasing solution. As soon as the network cable is plugged in, our Raspberry Pi is automatically assigned an IP address via DHCP – without any manual configuration or additional settings. - Per WLAN
To enter SSID and WLAN password, either a USB keyboard must be connected or we can simply activate the on-screen keyboard (Main menu → UI settings → on-screen keyboard). Then we activate the WLAN connection under the point “Network settings” and enter WLAN-SSID and password. Both the SSID and the password are case sensitive.
Step 5: Install Games/Roms
Recalbox comes with several games and you can start playing straight away. However, if you want to install more games, you need the corresponding ROM files of the games. These can be found relatively easily via Google (e. g.”Mario Kart SNES ROM”).
Important note: Please keep in mind that you are only allowed to download games that you have in their original version.
If you have the corresponding ROMs for the desired games, we have to connect to the Recalbox to copy the games to the Raspberry Pi.
Connect network drive
Windows:
To do this, we enter “\\Recalbox” in the Windows Explorer address bar and press Enter to connect to the network drive of the Recalbox. If Windows asks for a username and password, just click on “login as guest“.
macOS:
The procedure is similar under macOS. Go to Finder → go to → connect to server. Enter the address “smb://Recalbox” and confirm with Enter.
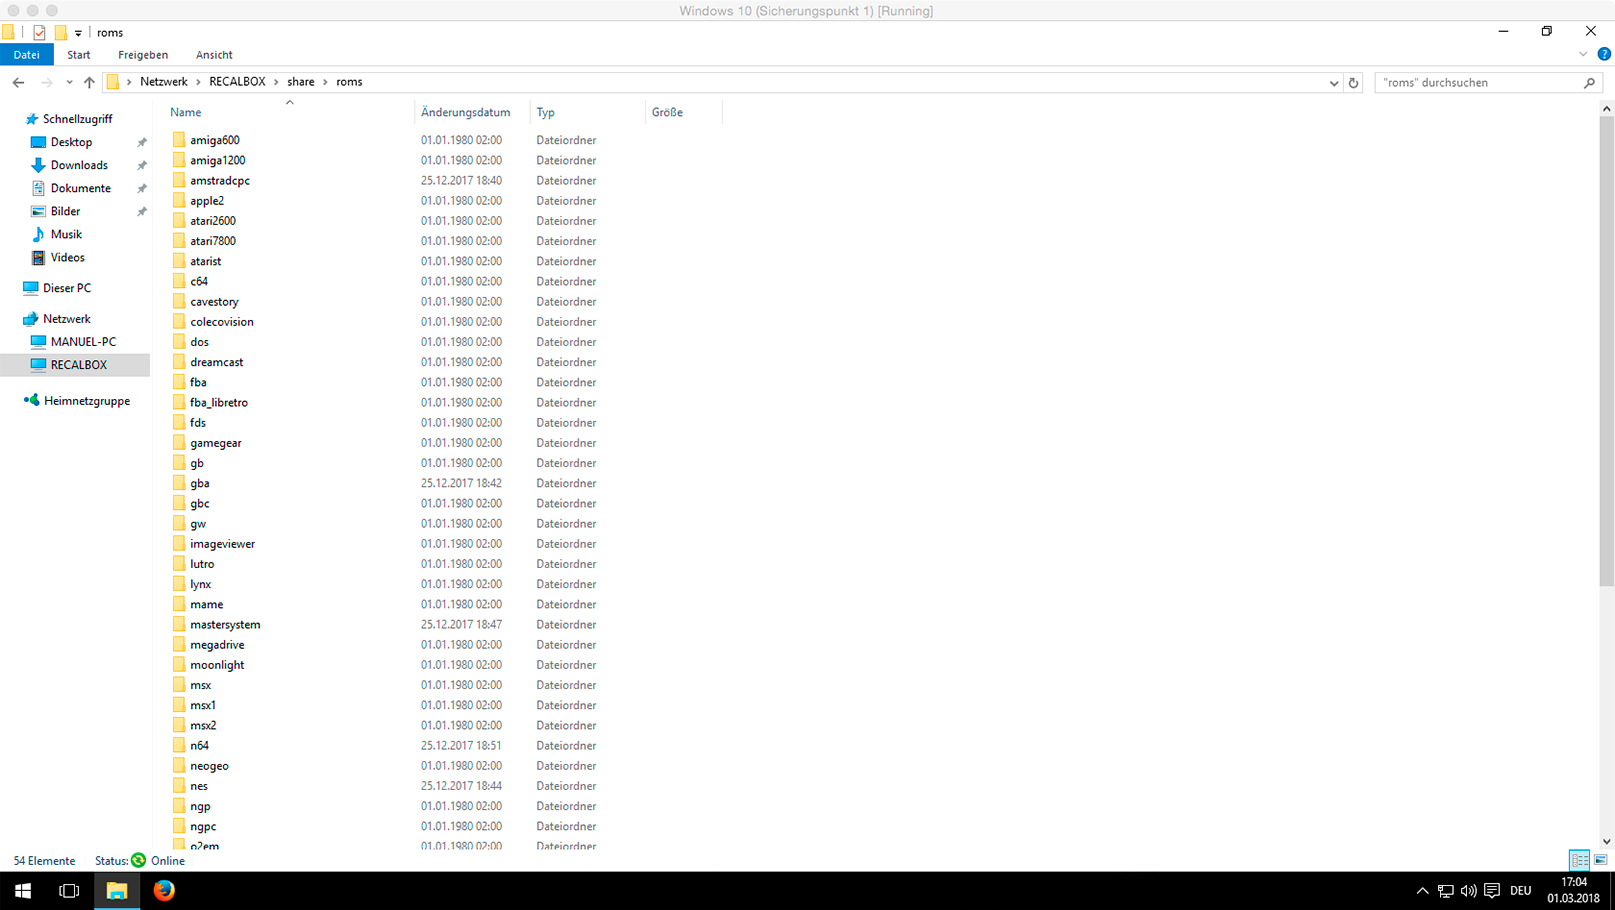
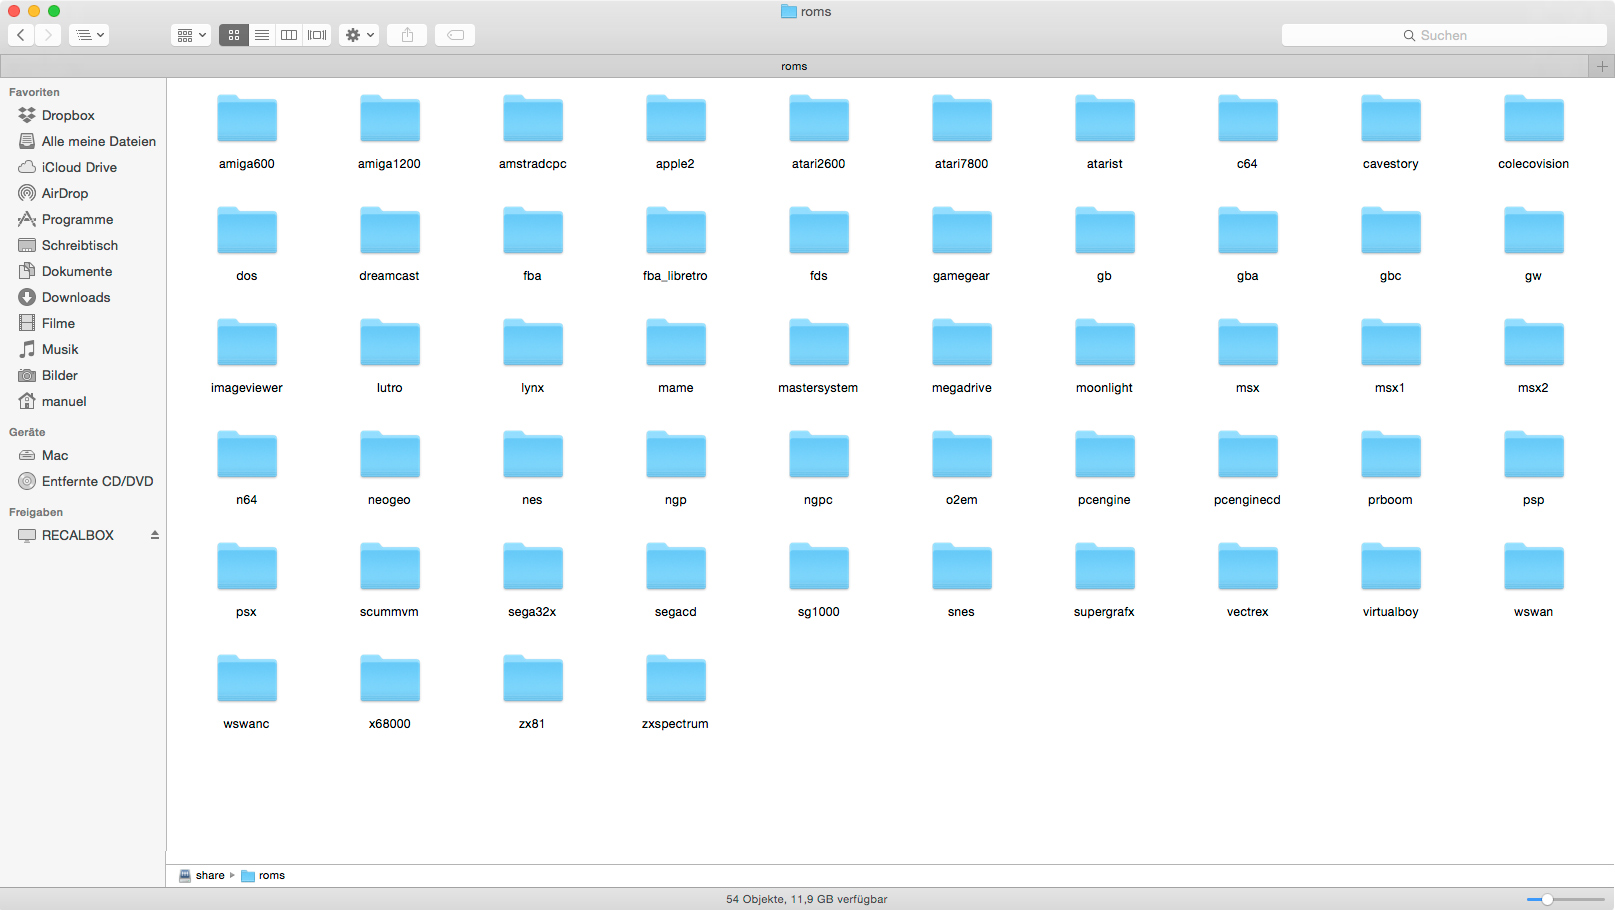
Copying ROMs to Recalbox
Then we open “Share → Roms“. The folders are sorted by console to which the corresponding Rome files must be copied (e. g.”snes” for Super Nintendo Entertainment System).
Update game list
If the new games have been copied to the network drive, we need to make Recalbox aware of them. This is done via “Main menu → UI settings → Update game list“. Done, the fun can begin!
Note: There is a rating embedded within this post, please visit this post to rate it.