
Raspberry Pi – Setting up Wi-Fi (Edimax)
Those who wish to wirelessly connect their Raspberry Pi to a network are faced with choosing the right Wi-Fi adapter. Depending on the adapter, set-up is either very easy or associated with considerable effort and potential complications. The reasons for this are the various chipsets that come with different Wi-Fi adapters. Problems particularly arise with completely new chipsets for which the Linux kernel does not yet provide a driver or for which a Linux driver does not even exist yet.
Recommendation Wi-Fi adapter
After having used many different Wi-Fi adapters on my Raspberry Pi at both greater and lesser expense, two personal favourites have emerged for me. The two Edimax Wi-Fi adapters are by far the easiest to set up:
| product name | power consumption | product price |
|---|---|---|
| EDIMAX EW-7811UN, 150 Mbit/s | 0,5W | ca. 8 € |
| EDIMAX EW-7612UAn, 300 Mbit/s (with external antenna) | 0,8W | ca. 20 € |
No additional driver required
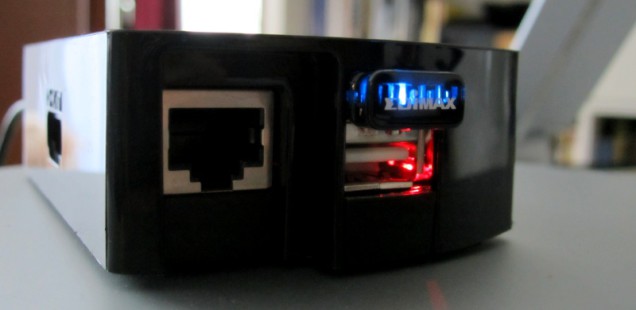
Due to low power consumption, the Edimax adapters can be used directly on the Raspberry Pi without an additional active USB hub. Both Wi-Fi adapters are recognized and integrated automatically because the kernel already has the appropriate driver (RTL8192CU) installed. After that, all that remains is the configuration of the wireless network.
Difficulty level:
Wi-Fi configuration under Raspbian
Raspbian recognizes he adapter as soon as it is inserted. You can check this easily by using the following command:
$ dmesg
Subsequently, we can see that a Realtek Wi-Fi adapter was recognized and that the corresponding driver has loaded:
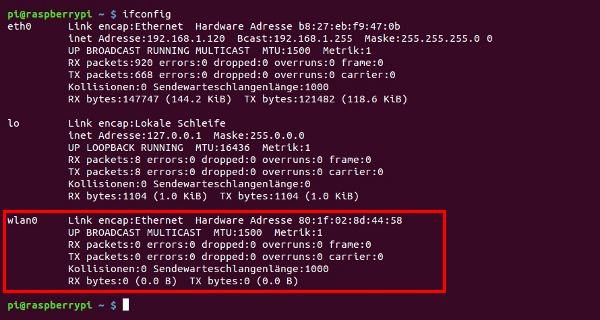
 After the stick was recognized, a new network device should appear which can simply be verified by using ifconfig:
$ ifconfig
Deactivate power saving
Before establishing a wireless network connection, the Edimax driver’s power saving function should be deactivated, otherwise the connection will be interrupted during inactivity. To avoid this, a configuration file for the driver must be created:
sudo nano /etc/modprobe.d/8192cu.conf
This file gets the following content:
options 8192cu rtw_power_mgnt=0 rtw_enusbss=0
Establish connection (DHCP)
In order to establish a connection with our wireless network, we must now edit the file /etc/network/interfaces:
$ sudo nano /etc/network/interfaces
and adapt its content:
auto lo
iface lo inet loopback
iface eth0 inet dhcp

auto wlan0
allow-hotplug wlan0
iface wlan0 inet dhcp
wpa-ap-scan 1
wpa-scan-ssid 1
wpa-ssid "YOUR-WIFI-NAME"
wpa-psk "YOUR-WIFI-PASSWORD"
Finally, save the changes and restart the network service.
sudo service networking restart
Static IP address (optional)
If the Wi-Fi interface is to be assigned to a static IP address within the network, the file contents should look as follows:
auto lo
iface lo inet loopback

iface eth0 inet static
address 192.168.0.24
netmask 255.255.255.0
gateway 192.168.0.1

auto wlan0
allow-hotplug wlan0
iface wlan0 inet static
address 192.168.0.23
netmask 255.255.255.0
gateway 192.168.0.1
wpa-ap-scan 1
wpa-scan-ssid 1
wpa-ssid "YOUR-WIFI-NAME"
wpa-psk "YOUR-WIFI-PASSWORD"
Rate this Post:


4.54/5 (13 votes)